Introduction
Installing a smart toilet seemed like a challenge at first, but after going through the process myself, I realized that with the right tools and instructions, it’s actually a manageable DIY project. Unlike traditional toilets, smart toilets require both plumbing and electrical connections, which means careful setup is essential for proper functionality.
Whether you’re replacing an old toilet or installing one for the first time, this guide will walk you through each step of the installation process, from preparing your bathroom to setting up bidet features, heated seating, and automatic flushing.
What You’ll Learn in This Guide
✔ What tools and materials you’ll need before installation.
✔ Step-by-step smart toilet installation for both floor-mounted and wall-mounted models.
✔ Common installation mistakes and how to troubleshoot issues.
✔ FAQs on smart toilet installation, including whether you need an electrician.
By the end of this guide, you’ll be able to install a smart toilet confidently, ensuring that all its automated and smart features work seamlessly.
Tools & Materials Needed for Smart Toilet Installation
Before installing a smart toilet, it’s crucial to gather the right tools and materials to ensure a smooth setup. Unlike traditional toilets, smart toilets require both plumbing and electrical connections, so having the proper equipment will save time and prevent installation issues.
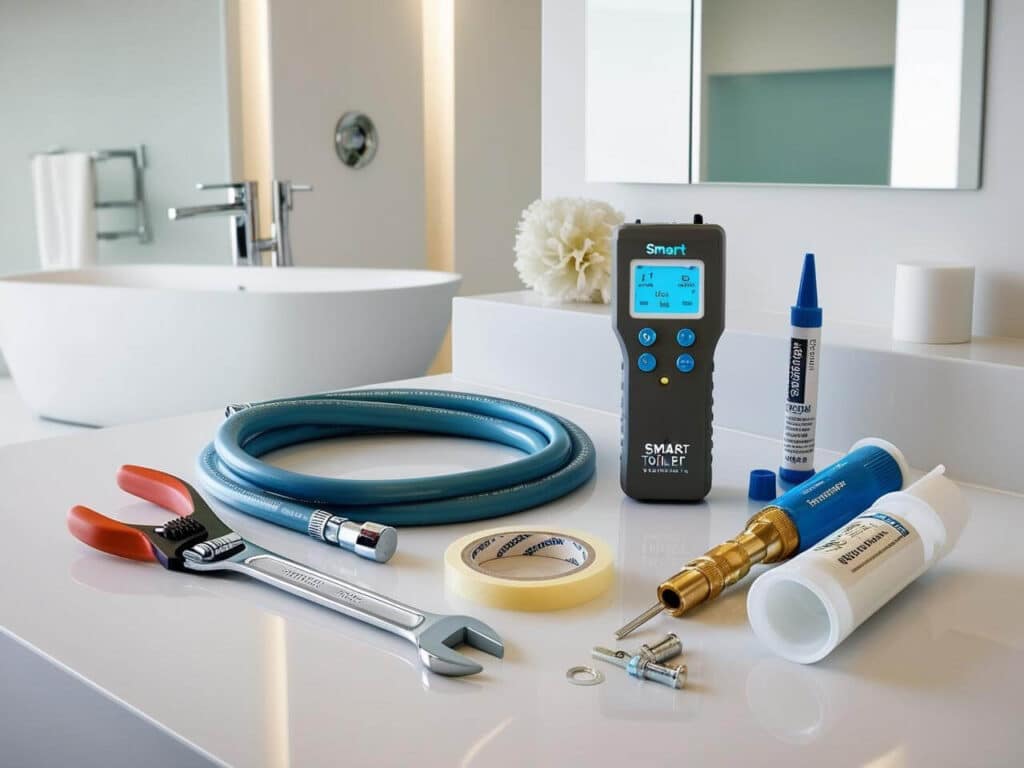
🛠 Essential Tools for Installation
✔ Adjustable Wrench – Tightens water supply connections securely.
✔ Screwdriver (Phillips & Flathead) – Used for securing bolts and electrical connections.
✔ Plumber’s Tape (Teflon Tape) – Helps prevent leaks in water supply connections.
✔ Level – Ensures the toilet is properly aligned and stable.
✔ Bucket & Towels – For catching water when disconnecting old pipes.
📌 For advanced installations (wall-mounted smart toilets), you may also need:
✔ Drill & Masonry Bits – If installing a smart toilet onto tile or concrete flooring.
✔ Voltage Tester – Ensures safe electrical connection before plugging in.
✔ Silicone Sealant – Helps create a waterproof seal at the toilet base.
🚽 Plumbing & Electrical Materials
✔ Flexible Water Supply Hose – Connects the toilet to the water line.
✔ New Wax Ring (or Rubber Gasket for Some Models) – Ensures a watertight seal.
✔ Power Outlet (GFCI Recommended) – Most smart toilets require a nearby grounded electrical outlet.
✔ Smart Toilet Installation Manual – Each brand has different requirements—always refer to the manufacturer’s instructions.
📌 Tip: If your bathroom doesn’t have a nearby electrical outlet, you may need an electrician to install a GFCI outlet before proceeding.
Smart Toilet Installation: Step-by-Step Guide
Installing a smart toilet requires careful handling of plumbing and electrical connections. Follow these step-by-step instructions to ensure a smooth and successful installation.

🚽 Step 1: Removing the Old Toilet
Before installing a smart toilet, you need to remove the existing toilet and prepare the area.
✔ Turn off the water supply – Locate the shut-off valve and turn it clockwise.
✔ Flush the toilet to drain excess water – Use a towel to soak up any remaining water.
✔ Disconnect the water supply hose – Loosen the connection with an adjustable wrench.
✔ Remove the toilet bolts – Unscrew the mounting bolts at the base of the toilet.
✔ Lift the old toilet and remove the wax ring – Use a putty knife to clean off old wax and residue.
📌 Tip: Place an old towel or rag over the drain opening to prevent sewer gases from escaping while you work.
🔌 Step 2: Preparing for Installation
✔ Inspect the drain flange – Make sure it’s clean and undamaged. If necessary, replace it.
✔ Install a new wax ring or rubber gasket – This ensures a watertight seal between the toilet and the drain.
✔ Check electrical requirements – If your smart toilet requires power, ensure a GFCI outlet is nearby.
📌 Tip: If your toilet doesn’t have an outlet nearby, consult an electrician before proceeding.
⚙️ Step 3: Installing the Smart Toilet
✔ Position the toilet over the drain flange – Carefully align the base with the mounting holes.
✔ Secure the toilet with mounting bolts – Hand-tighten the bolts, then use a wrench to ensure stability.
✔ Connect the water supply line – Attach the flexible water hose to the shut-off valve.
✔ Plug the toilet into the electrical outlet – If required, make sure it’s a GFCI-protected outlet.
✔ Apply silicone sealant (if required) – Some models recommend sealing around the base for extra stability.
📌 Tip: Don’t overtighten the bolts, as this can crack the toilet base.
🔄 Step 4: Configuring Smart Features
Once the toilet is securely installed, it’s time to set up its smart functions.
✔ Turn on the water supply – Check for leaks around the water hose connections.
✔ Run an initial flush test – Ensure the toilet flushes correctly and no water leaks from the base.
✔ Adjust bidet settings – Set water temperature, pressure, and nozzle position.
✔ Program seat heating and night light – Use the remote or control panel to adjust settings.
✔ Connect to Wi-Fi or Smart Home System (if applicable) – Some models allow app control or voice activation.
📌 Tip: Check the manufacturer’s setup guide for any additional calibration steps.
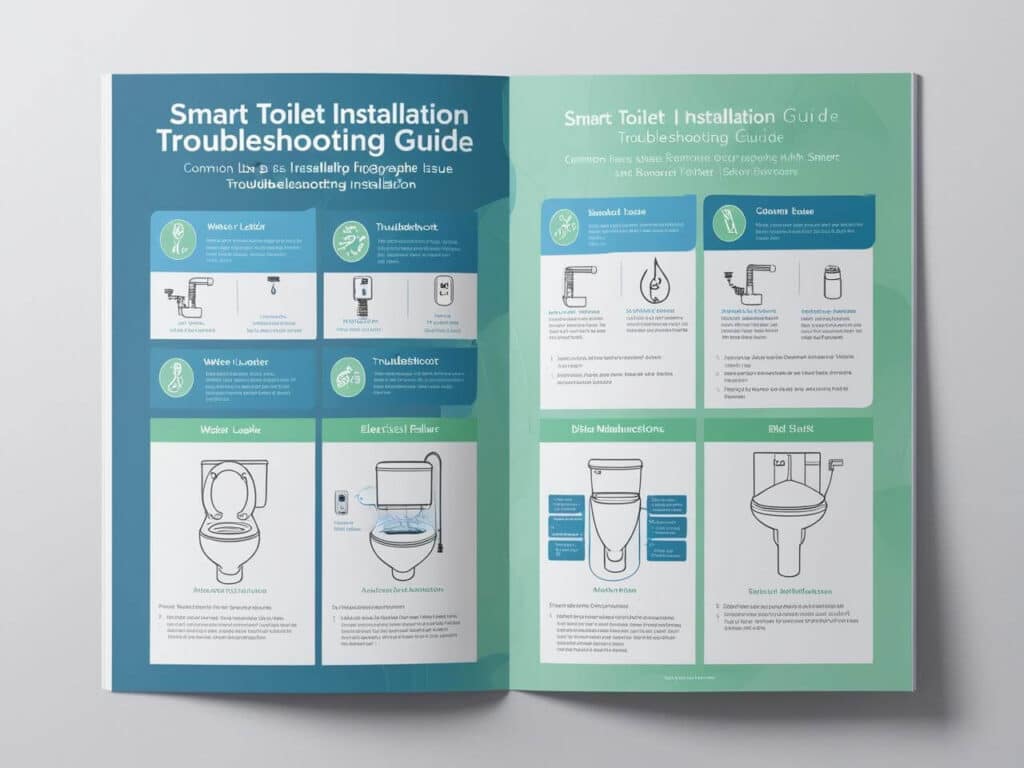
Troubleshooting & Common Installation Mistakes
Even with careful installation, issues can arise. Here are common smart toilet installation problems and how to fix them.
🚰 Issue #1: Water Leakage Around the Base
✔ Possible Cause: Improper wax ring or gasket seal.
✔ Fix:
- Remove the toilet and check if the wax ring is misaligned or damaged.
- Replace the wax ring or rubber gasket and reinstall the toilet securely.
- Ensure mounting bolts are tightened evenly to prevent uneven sealing.
📌 Tip: Use plumber’s putty around the base for extra sealing.
⚡ Issue #2: No Power to the Smart Toilet
✔ Possible Cause: Electrical outlet issue or loose connection.
✔ Fix:
- Check if the outlet is a GFCI (Ground Fault Circuit Interrupter) and reset it if tripped.
- Try plugging in another device to see if the outlet is working.
- Ensure the power cable is securely connected to the toilet’s power port.
- If no power, consult an electrician to verify wiring safety.
📌 Tip: If your smart toilet supports battery backup, insert fresh batteries as a temporary solution.
💨 Issue #3: Weak Flushing or Water Pressure Problems
✔ Possible Cause: Low water pressure or incorrect flush settings.
✔ Fix:
- Check if the water shut-off valve is fully open.
- Remove the toilet’s water filter (if applicable) and clean any debris.
- If the toilet has adjustable flush settings, increase the water pressure level.
📌 Tip: If water pressure remains low, consult your water supply provider to check for line issues.
🚽 Issue #4: Bidet or Heated Seat Not Working
✔ Possible Cause: Software settings or malfunction.
✔ Fix:
- Make sure the toilet is fully powered and plugged in.
- If the bidet isn’t spraying, check if the water heater function is turned on.
- Reset the toilet by unplugging it for 30 seconds and plugging it back in.
- If the issue persists, consult the user manual for factory reset instructions.
📌 Tip: Some smart toilets require an app connection to adjust settings—ensure your Wi-Fi or Bluetooth setup is complete.
🛠 General Smart Toilet Maintenance Tips
✔ Clean bidet nozzles regularly to prevent clogging.
✔ Use mild cleaners—avoid harsh chemicals that can damage internal components.
✔ Flush the system weekly if you haven’t used the toilet for an extended period.
📌 Tip: Follow manufacturer recommendations for cleaning and maintenance to extend the toilet’s lifespan.
FAQs – Answering Common Questions
Here are answers to the most frequently asked questions about smart toilet installation to help clear up any uncertainties.
❓ Do I need an electrician to install a smart toilet?
✅ Not always, but it depends on the model.
✔ If your smart toilet requires a power outlet and you don’t have one nearby, you may need an electrician to install a GFCI outlet.
✔ Some battery-operated smart toilets do not require professional electrical installation.
✔ Plug-and-play models work with existing outlets and don’t require rewiring.
📌 Tip: Always check the voltage and power requirements before purchasing a smart toilet.
❓ Can I install a smart toilet myself?
✅ Yes, if you have basic plumbing knowledge.
✔ Floor-mounted smart toilets are easier to install with standard plumbing tools.
✔ Wall-mounted models require advanced plumbing and support brackets, which may need professional help.
✔ If your bathroom is already wired with an outlet, installation is usually straightforward.
📌 Tip: If you’re unsure, consider hiring a plumber to assist with water and drain connections.
❓ How long does installation take?
✅ Typically, 1-3 hours, depending on experience and toilet type.
✔ Floor-mounted smart toilets – 1-2 hours if replacing an old toilet.
✔ Wall-mounted smart toilets – 3+ hours due to additional bracket and plumbing adjustments.
✔ If electrical wiring is needed, additional time may be required.
📌 Tip: Read the manufacturer’s guide beforehand to avoid surprises during installation.
❓ Does a smart toilet use more water and electricity?
✅ No, smart toilets are designed to be water- and energy-efficient.
✔ Dual-flush systems use only the necessary water per flush, reducing water waste.
✔ Low-energy heating modes ensure minimal electricity consumption.
✔ Some models have motion sensors to activate features only when needed.
📌 Tip: Choose WaterSense-certified models for maximum water efficiency.
Final Thoughts
After going through the smart toilet installation process, I’ve realized that while it may seem complex at first, it’s actually manageable with the right tools and preparation. Whether you’re installing a basic floor-mounted model or a high-tech wall-mounted smart toilet, following the step-by-step guide ensures a smooth setup.
If you’re considering installing a smart toilet, keep these key points in mind:
✔ Check your bathroom’s electrical setup – A GFCI outlet may be needed.
✔ Gather the necessary tools before starting – A wrench, screwdriver, and plumber’s tape are essential.
✔ Follow a careful installation process – Proper alignment, sealing, and water-tight connections are crucial.
✔ Test all smart functions after installation – Ensure bidet settings, flushing, and heating work correctly.
Is a Smart Toilet Worth Installing?
If you value hygiene, convenience, and water efficiency, a smart toilet is a game-changer. While the installation might require some effort, the long-term benefits in cleanliness, automation, and comfort make it worth it.